Scanning & Processing Images
On this page
The Scan Window
The scan window is where you process images for AI tagging and add them to your searchable database.
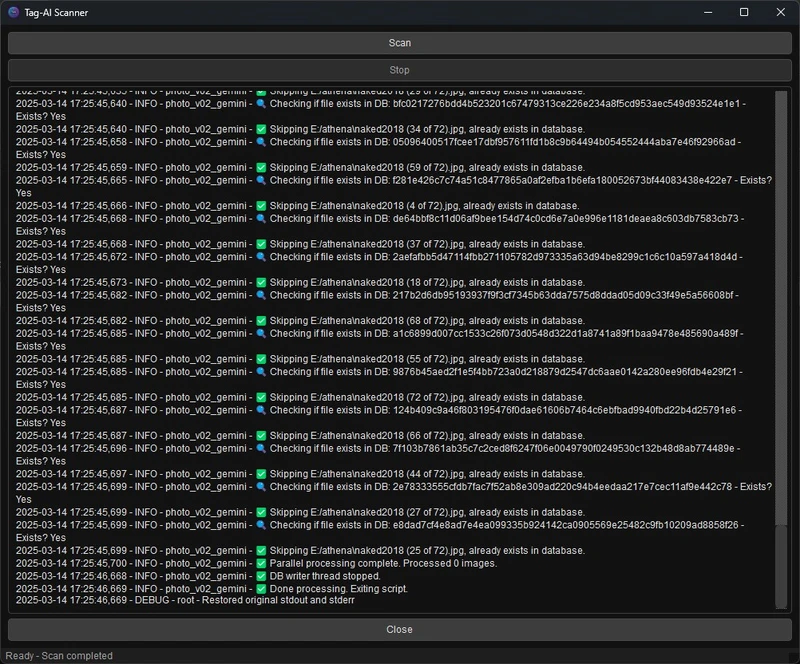
This window provides real-time feedback during the scanning and tagging process.
Starting a Scan
To scan and process images:
- Click the Scan button in the main interface
- The scan window will open
- Click the Scan button in the scan window to begin processing
The scan process will automatically:
- Locate all image files in your configured watch folders
- Skip any previously processed images (based on file hash)
- Process new or modified images
- Generate AI tags and store them in the database
The first scan of a large image library can take significant time, depending on your hardware and the number of images.
Processing Stages
Tag-AI processes images in several stages, all visible in the scan window output:
File Discovery
First, Tag-AI scans all folders specified in your configuration and identifies image files with supported formats.
Image Processing
For each new or modified image:
- File Hash Calculation: A unique hash is generated to identify the image
- Metadata Extraction: Date taken and other metadata are extracted
- Image Preparation: The image is resized and prepared for AI processing
AI Tagging
Images are sent to the configured AI model (local LLaVA or cloud Gemini) for analysis. The AI generates descriptive tags that capture the image content.
Database Storage
The processed image information and its tags are stored in the SQLite database, making them searchable.
Tagging Models
Tag-AI supports two AI tagging models:
Local Processing (LLaVA)
Using Ollama with the LLaVA model for local, private processing:
- Processes images entirely on your computer
- No data sent to external services
- Requires GPU for optimal performance
- Default processing method
Cloud Processing (Gemini)
Using Google's Gemini API for cloud-based analysis:
- Often produces more comprehensive tags
- Requires internet connection
- Requires Gemini API key
- Sends images to Google's servers for processing
- Subject to API usage limits
You can switch between these models in the Configuration Editor.
Performance Considerations
GPU Acceleration
GPU acceleration dramatically improves processing speed:
- NVIDIA GPUs with CUDA process ~5-10 images per minute (model dependent)
- AMD GPUs with ROCm process ~4-8 images per minute
- Apple Silicon Macs process ~3-6 images per minute
- CPU-only mode processes ~0.5-1 images per minute
Batch Processing
Tag-AI processes images in batches with optimized thread management:
- Thread pools manage concurrent image processing
- Database writes are batched for efficiency
- GPU utilization is monitored to maximize throughput
Stopping a Scan
To stop an ongoing scan:
- Click the Stop button in the scan window
- Tag-AI will complete the current image processing before stopping
- All successfully processed images will be saved to the database
You can close the scan window while keeping it running in the background by clicking the Close button. The process will continue, and you can reopen the window from the main interface.
Troubleshooting
Scan Appears Stuck
If a scan appears to stall:
- Check the output log for error messages
- Verify your GPU drivers are up to date
- Ensure Ollama is running properly
- Try stopping and restarting the scan
Failed Images
Some images may fail to process due to format issues or corruption. These are logged to:
unable_to_do.txtThis file is located in the Tag-AI installation directory.
Common Issues
- Slow Processing: Usually indicates CPU-only mode or GPU issues
- Database Errors: Check disk space and permissions
- Memory Errors: Reduce batch size in configuration